MainWP Review
Welcome to our MainWP review. This will be a brief look at the functionality of the free version of MainWP. A follow-up artical will be written in future exploring some of the more advanced extensions available.
If you are anything like me then you will have created a significant number of WordPress websites which you are now responsible for. When it comes to building sites on WordPress my goal is to achieve as much as possible, with as few plugins as possible. This helps to keep things simple, reducing the likelihood of plugins breaking during updates and plugins being dropped entirely by their developers over time.
However, even with this approach, once you have more than about 10 active WordPress installations, keeping on top of updates for all of your sites can become a chore. This is where a product like MainWP can help. In this MainWP review we'll take a look at what MainWP can do to see if it's worth your consideration.
What is MainWP?
MainWP describes itself as a tool for WordPress professionals and admins who control multiple WordPress sites and realize that WordPress management is more than just plugin and theme updates. MainWP is a pairing of a control dashboard and child plugin who securely communicate to undertake a number of tasks across your 'child' websites.
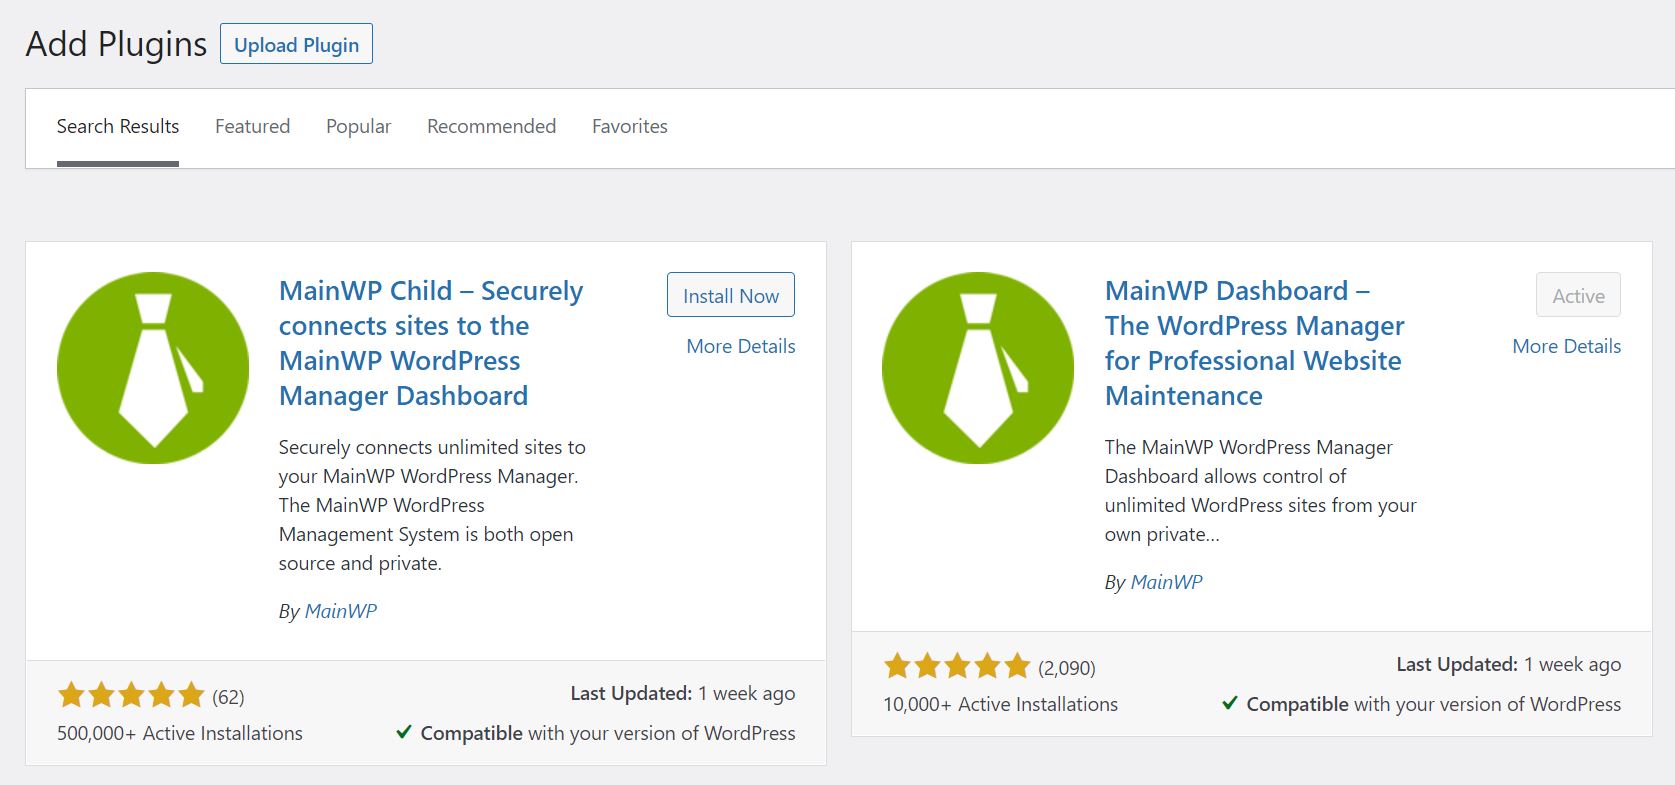
The dashboard is a self-hosted solution which itself is a WordPress plugin. This means you will need a dedicated WordPress installation to run the main dashboard. With the low cost of cloud hosting infrastructure these days you could have this dashboard up and running for as little as $5 per month with a provider such as Linode or Digital Ocean.
Once the dashboard is installed you can now add your websites to it. This involves entering your website details in the MainWP site dashboard and then installing and activating the MainWP child plugin on your website. Once the connection has been made the Main WP dashboard can be used to view details and carry out various actions on each connected child website.
What can MainWP Do?
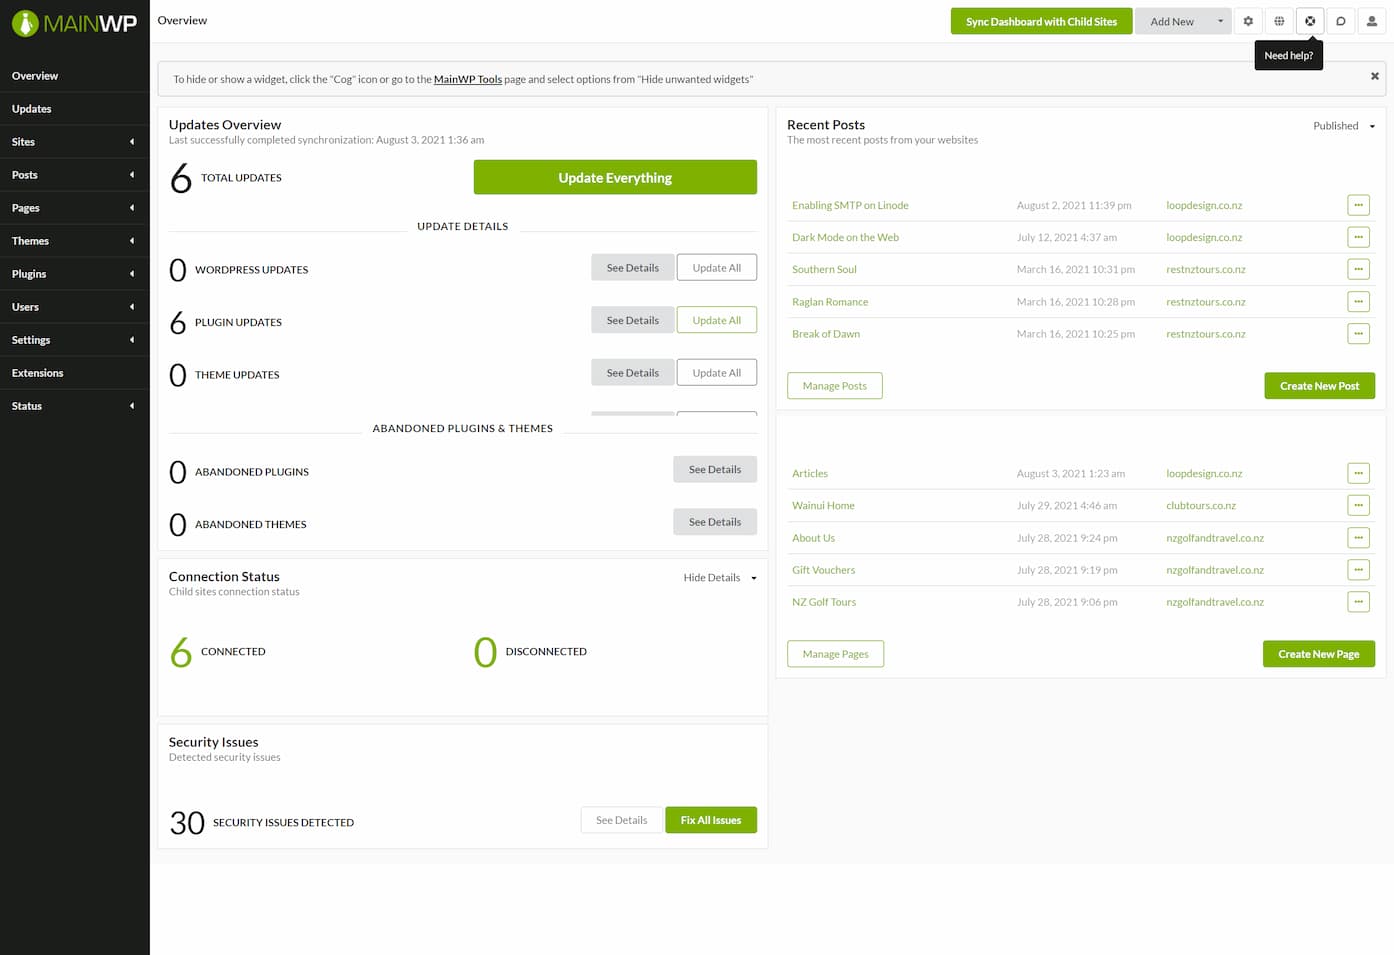
The MainWP Dashboard has a number of pages for managing your sites, posts, pages, themes, plugins and users.
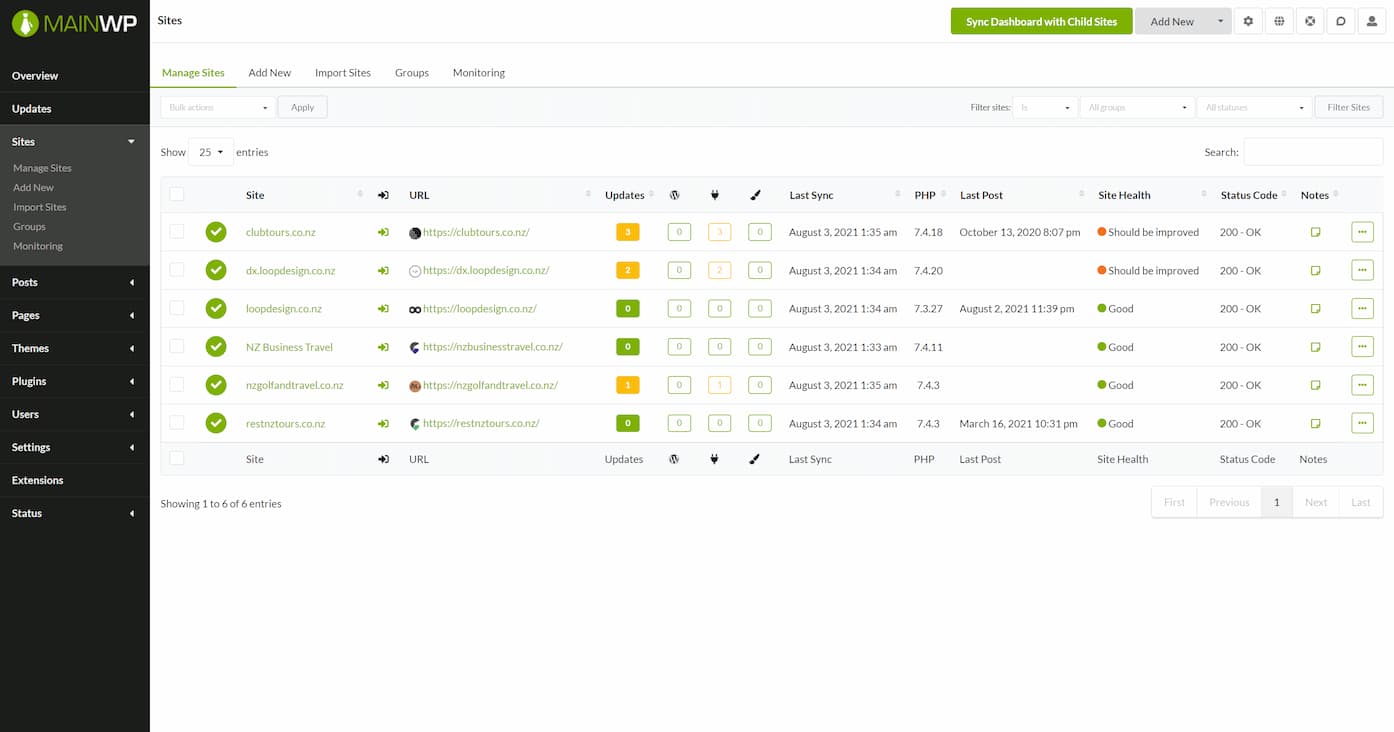
Sites
The sites page presents a list of your connected child sites. This view allows you to see the total number of pending updates on each site, your current site heath status, and an uptime status code. Each site includes links to take you directly through to the WordPress dashboard of that site. This is quite a useful overview to see whether any of your sites are in desperate need of some attention.
Groups can be created and assigned to each of the websites and the main website list can be filtered by these groupings. This would be a useful feature if you are offering a variety of service level plans to ensure each site is being maintained in accordance with your service agreements. It would also be useful for internal organisation such as assigning ownership of websites to certain staff.
Posts & Pages
The posts and pages tools allow you to see existing posts and pages from across your connected child sites. A link on each one takes you to that sites WordPress dashboard to view and edit the post or page. The most intersting feature here is the ability to create a new post or page from within MainWP and push them out to one or more of your child sites. They can be published immediately or set to deploy on a schedule. While I don't have a use for this myself, I can imagine there are a number of applications for this kind of functionality.
Themes & Plugins
The themes and plugin pages offer similar functionality. They give you a view of all currently installed versions and allow you to search and install new themes and plugins across your sites in bulk.
Users
The users page allows you to manage and create users across your websites.
Wrapping Up
After using MainWP for this review the most useful aspect of the system is the ability to have a view across the update, site health and ping status of all my active sites. This saves so much time when undertaking regular maintenance tasks and gives you a nice overview at a glance of all of your sites. I think MainWP, or a tool like it, is an essential addition to any freelancer or studio who are managing multiple WordPress websites for clients. It gives you more power and control over your websites, and most importantly it saves you time.
All the functionality described comes with the free version of MainWP. Installing and trying out MainWP on your own setup is therefore an extremely easy proposition. MainWP also have an extension library. They offer both free and paid extensions which at a glance range from things like advanced uptime monitoring and reporting, to cloning, staging and more. In a future article I will dive into the MainWP Extension library to see what else they have to offer.